
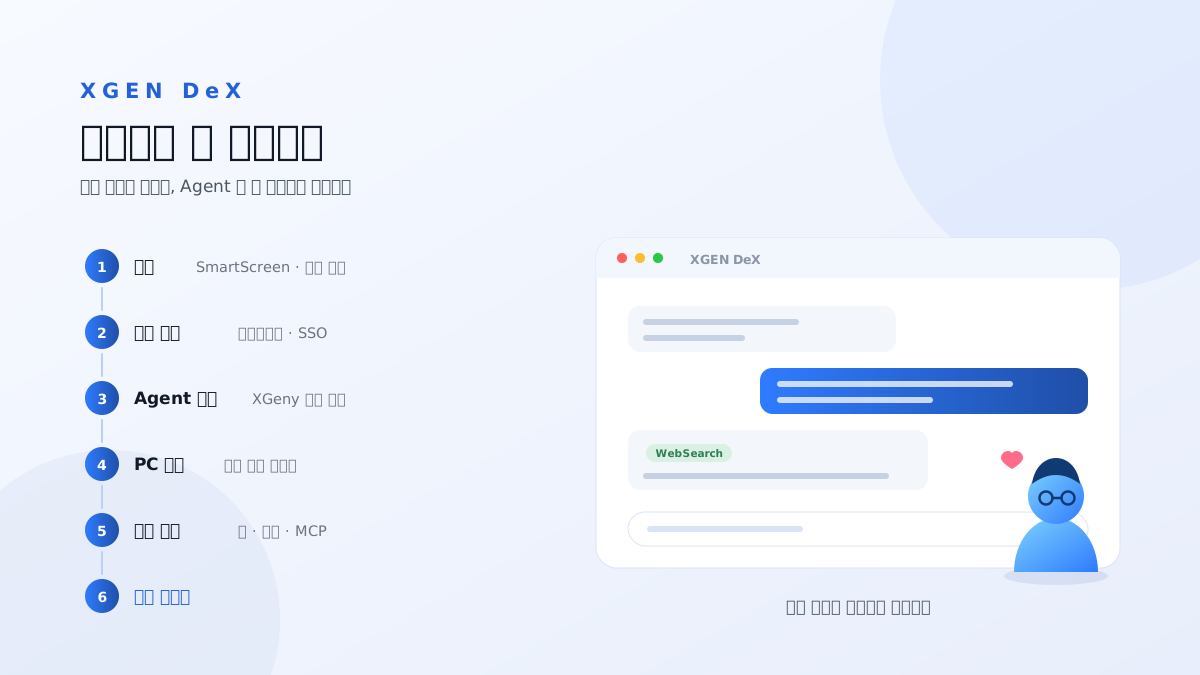
This is the hands-on companion to Dex — connecting enterprise AI agents to the real desktop. That post covered why the desktop needs connecting; this one connects it.
Anyone who has handed work to AI knows the feeling. The answer is good — but folding that result back into an existing file, opening the application it belongs in, and saving it to the right work folder is all still done by a person.
Dex handles that last connection. Installed on PCs, phones, and tablets, it lets an agent running on the server do real work on each device, using the files and applications already there.
The installer is on GitHub, about 280MB. Screens are from Windows.
1. Install
Run the XGEN-Connector-Setup file you downloaded and Windows Defender SmartScreen blocks it as unrecognized. This appears because a code-signing certificate is not yet registered — it is not a problem with the installer itself. Click More info to reveal the publisher and filename along with a Run button.
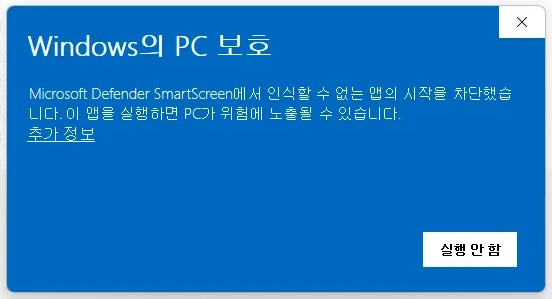
Expect support questions about this screen during internal rollout — mention it up front
For install scope, pick all users or the current user only. The current user needs no admin rights, which makes it the easier option for internal rollout too.
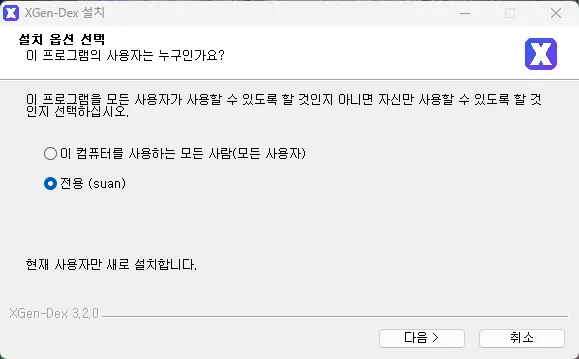
Install scope
The install folder defaults to a path under your user account's AppData and needs roughly 970MB free.
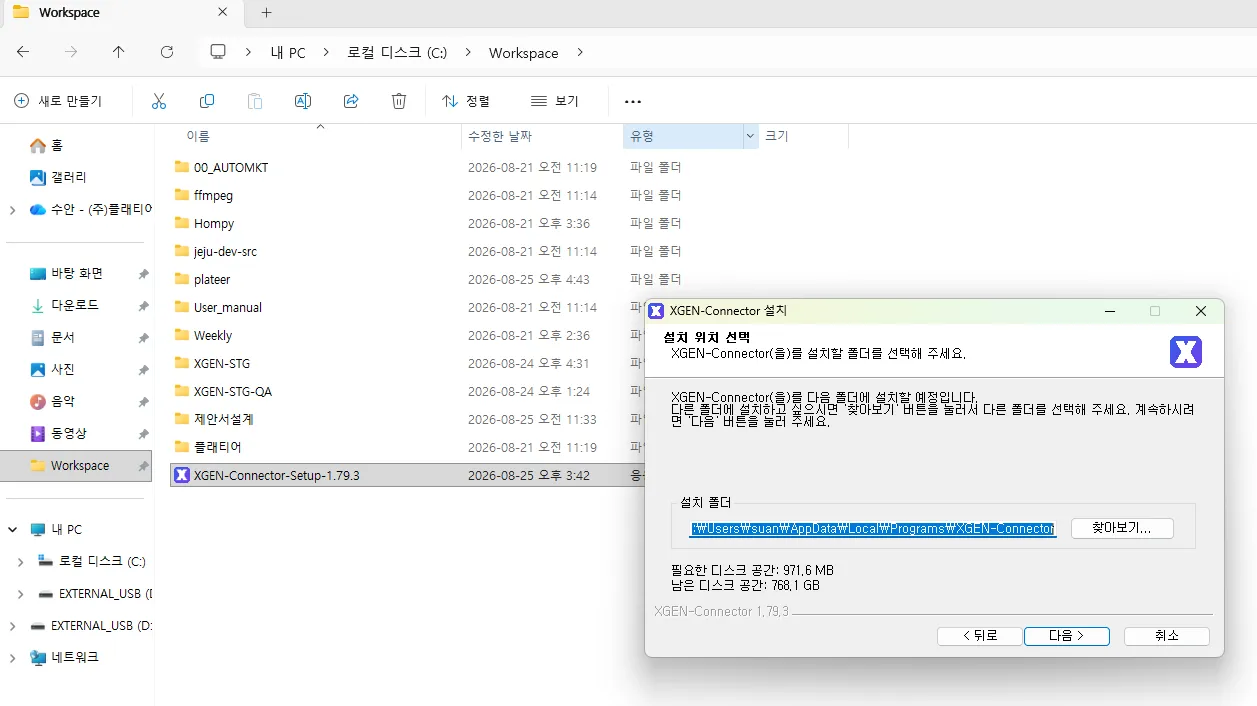
Install location
The next screen names the data folder. Under it, the agent's working folder and local runtime components are created — workspace handles work sync, cloud is storage, and local-runtime holds the runtime and CLIs the agent uses when it executes on this machine.
Copying the local runtime and its Python packages takes a while. When the progress bar completes, click Finish and launch Dex.
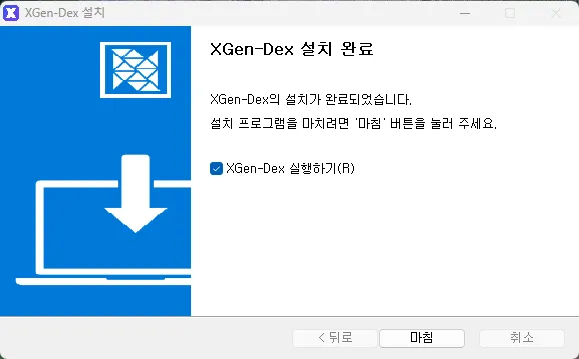
Installation complete
2. Connect to the server
On first launch Dex asks for the XGEN server (gateway) address. Enter the XGEN instance your organization runs.
Turn on Allow private certificates if your environment uses an internal CA, and Use SSO login if you sign in through single sign-on.
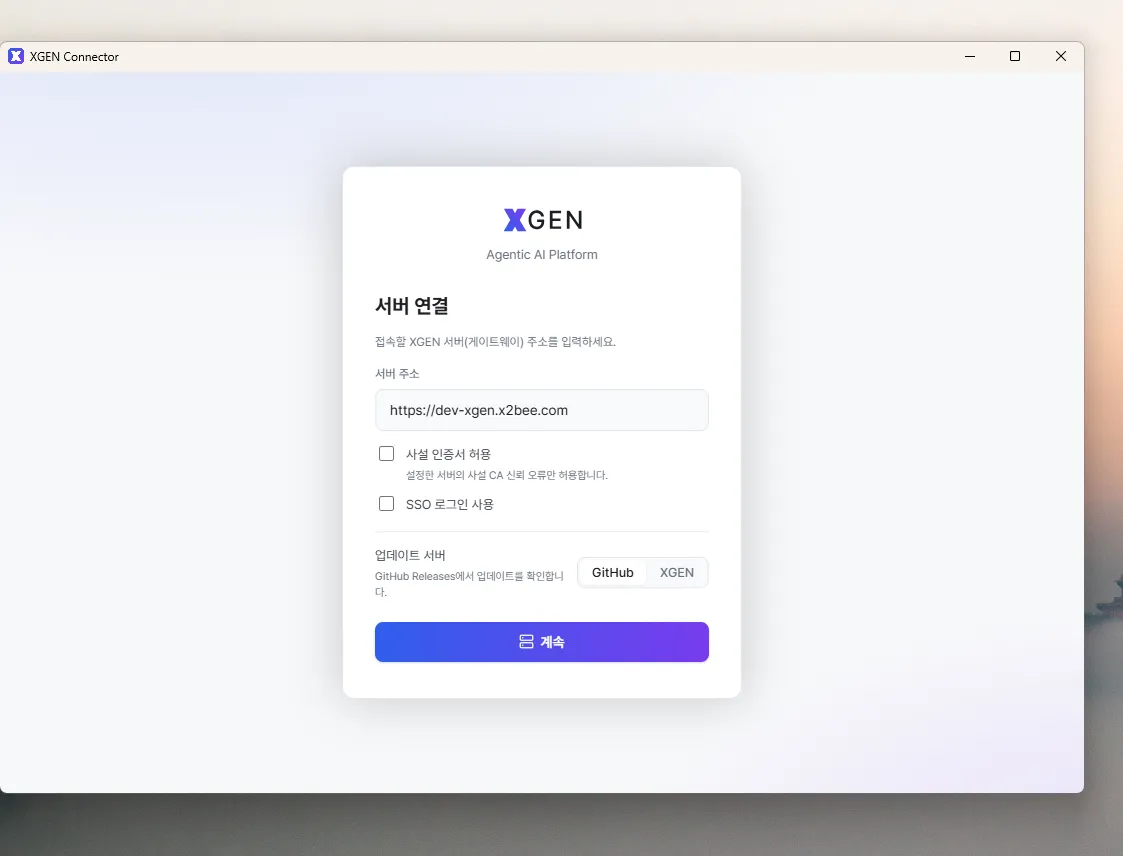
Point Dex at your XGEN server
3. Build an agent with Geny
Dex is the side that runs an agent; the agent itself is built in XGEN. You can wire nodes by hand on the canvas, but asking Geny in plain language is faster.
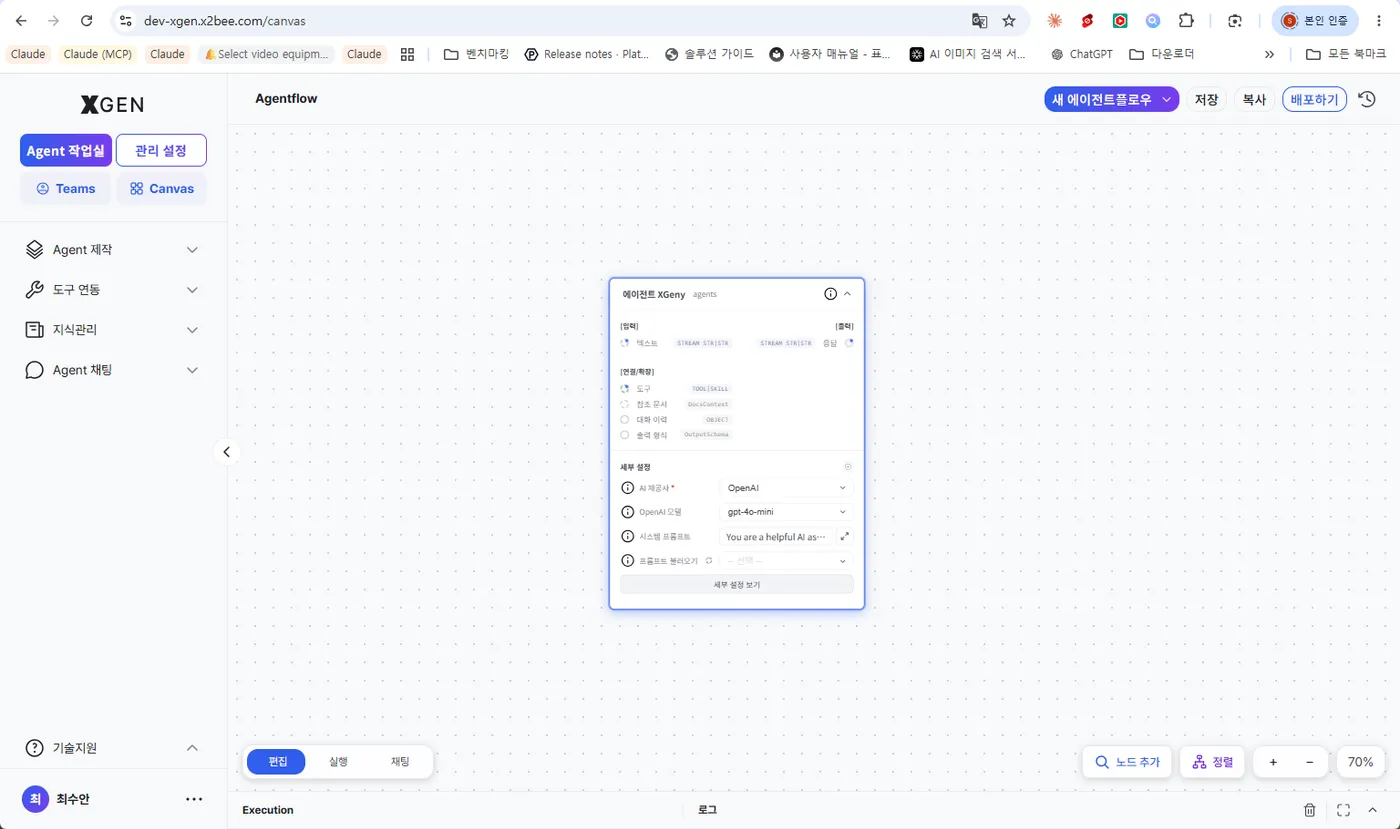
The Geny node on the canvas
Describe what you want — for example, "build me an agent that writes blog articles for the Plateer Labs site" — and Geny assembles a workflow with the nodes and connections it needs, then drops it on the canvas.
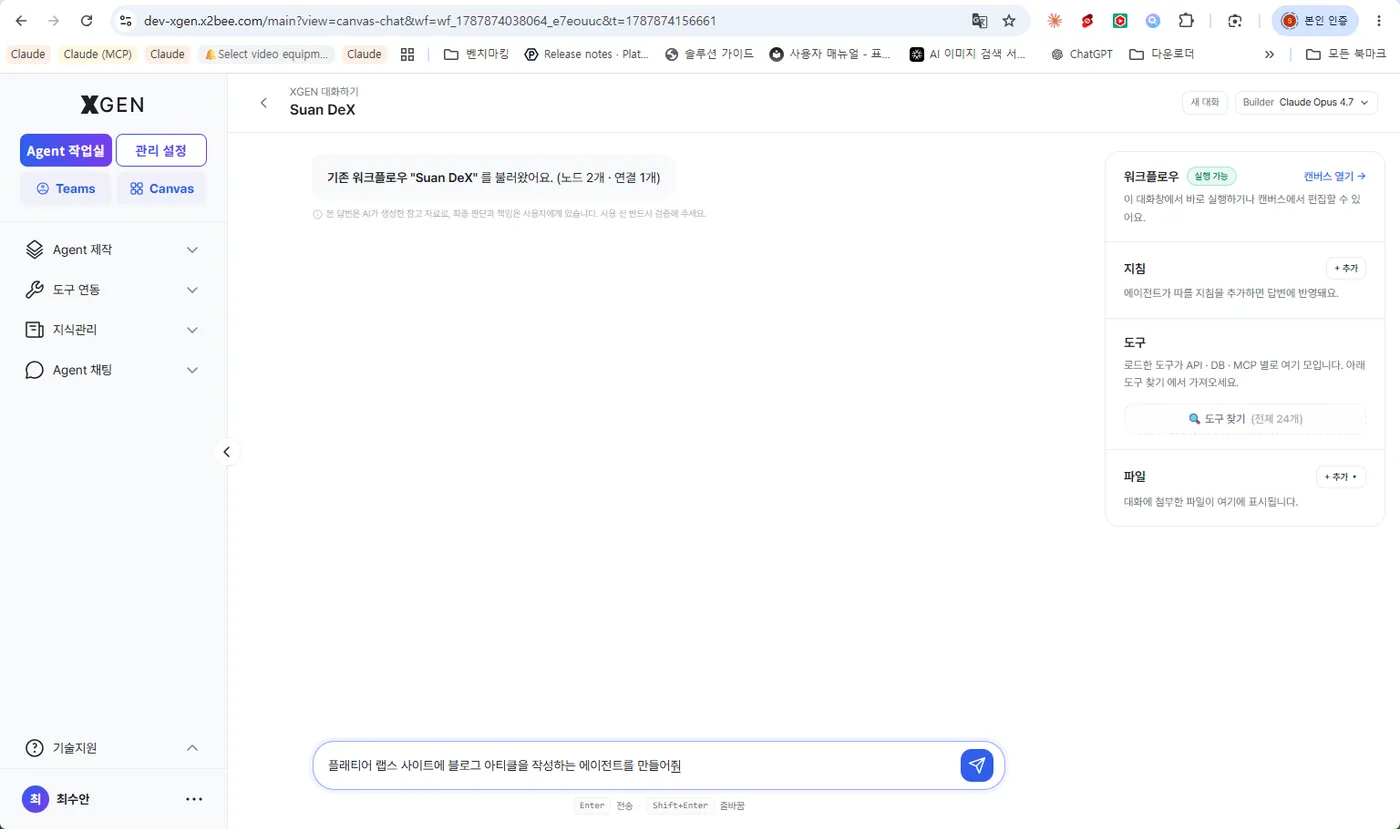
Describe the agent you want
You get a workflow wiring input, conversation memory, web search, the agent, and output. Run it as-is, add nodes or change settings to refine it, then give it a name and save.
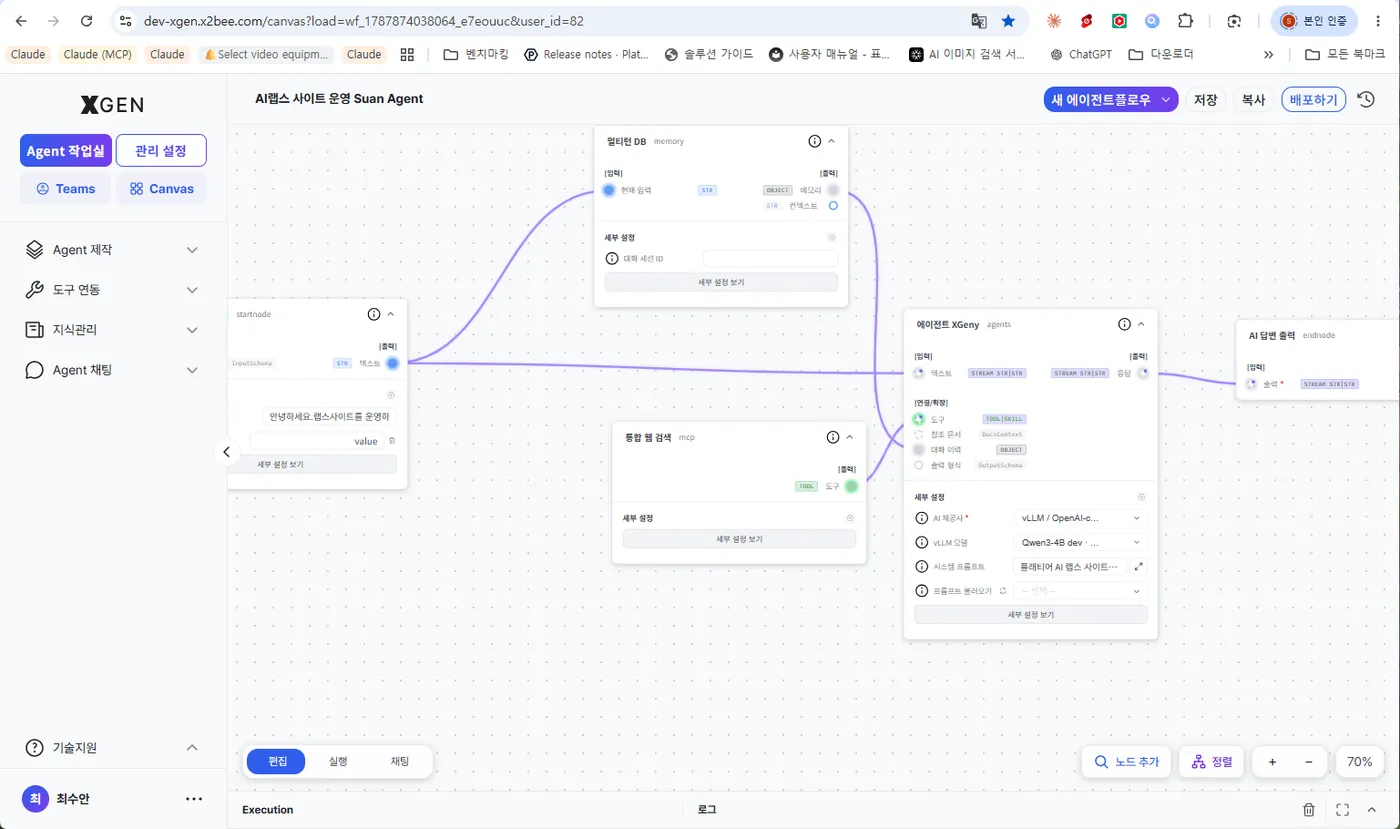
The workflow Geny built
4. Connect it to your PC and create a working folder
For an agent running on the XGEN server to read and write files on this machine, that agent and this computer have to be connected to each other. Do it in XGEN under Knowledge → File Cloud → Connections.
With Dex running, this computer appears automatically under Connected PCs. Pick the agent you built with + Connect agent, and the agent on the XGEN server is joined to your desktop.
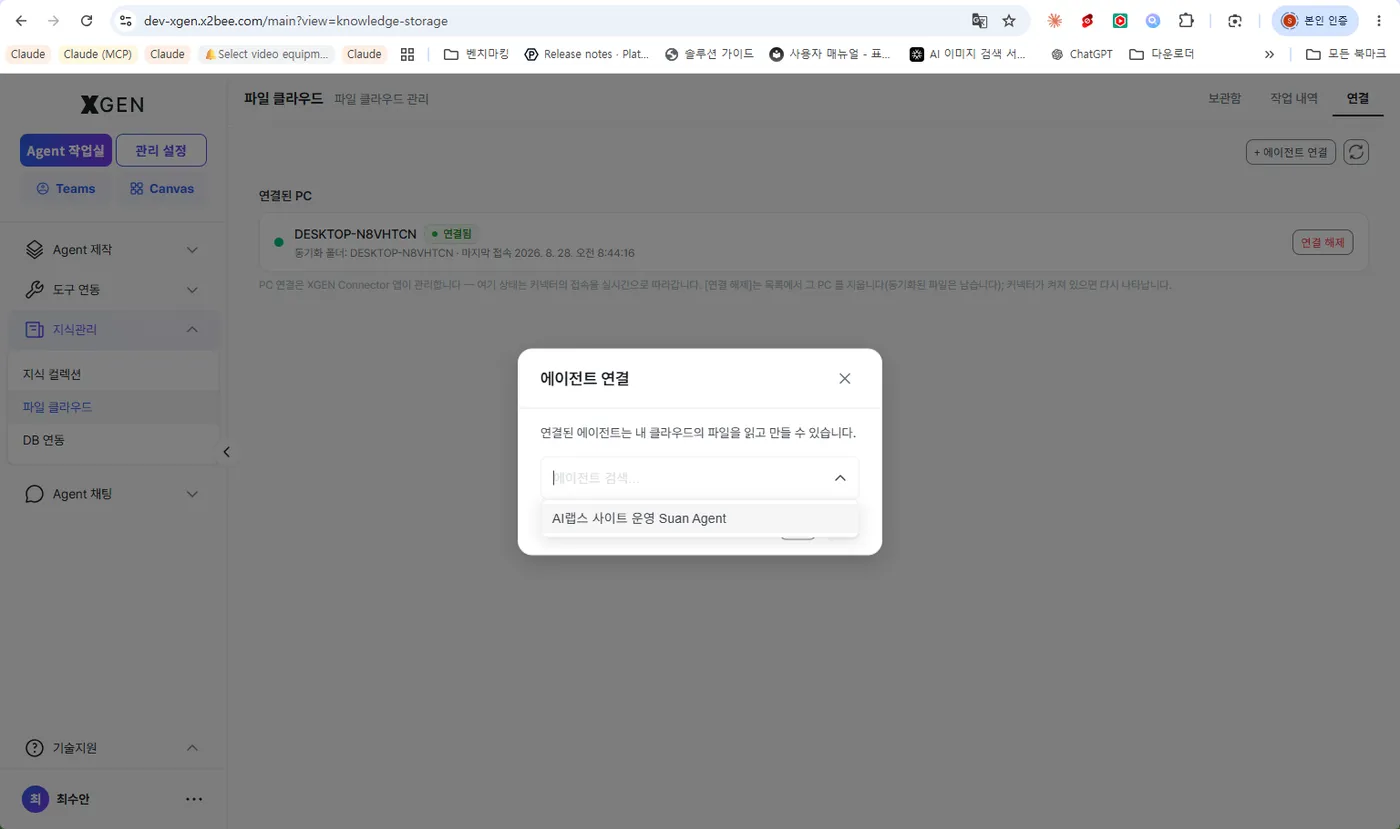
Pick the agent to connect
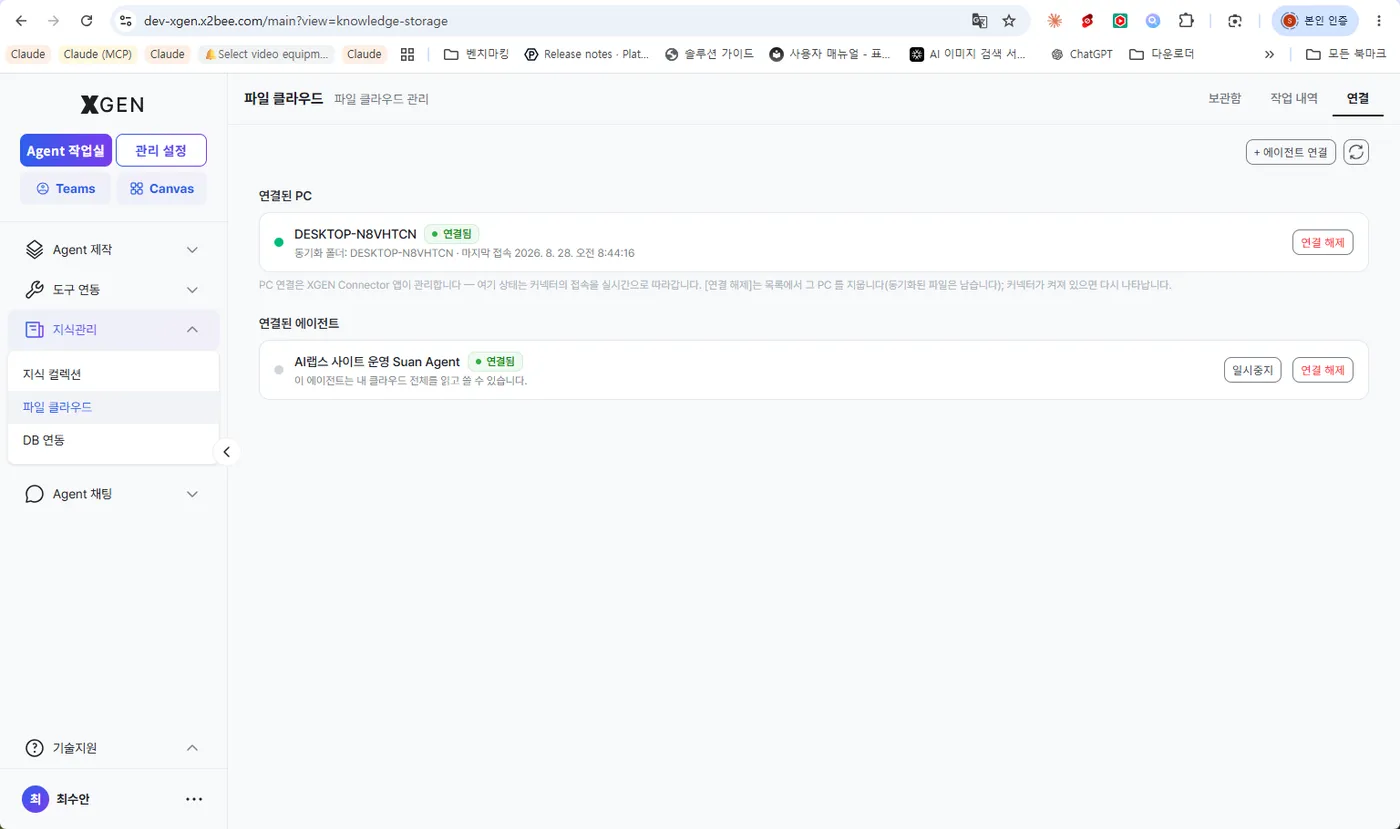
PC and agent both connected
A connected agent can reach your cloud storage within the scope you allow. Connect only the agents a task needs, and pause the connection when you are not using it.
Creating a store under Library makes a cloud folder, and a folder of the same name syncs under the default working folder on your PC. That folder is where the agent and you hand files back and forth.
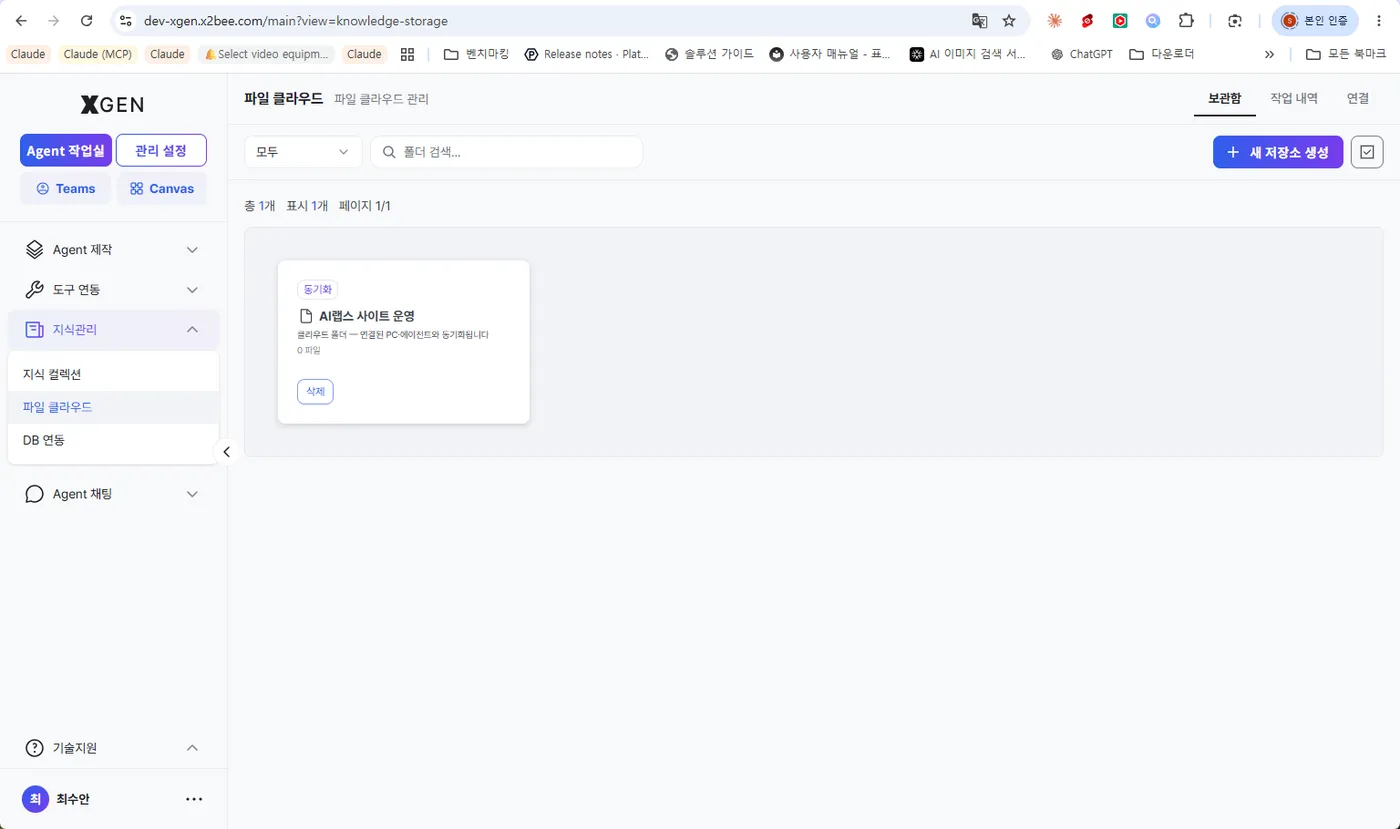
A cloud folder that syncs with your PC
Activity keeps a record of who did what and when — below is the mkdir entry for creating the folder.
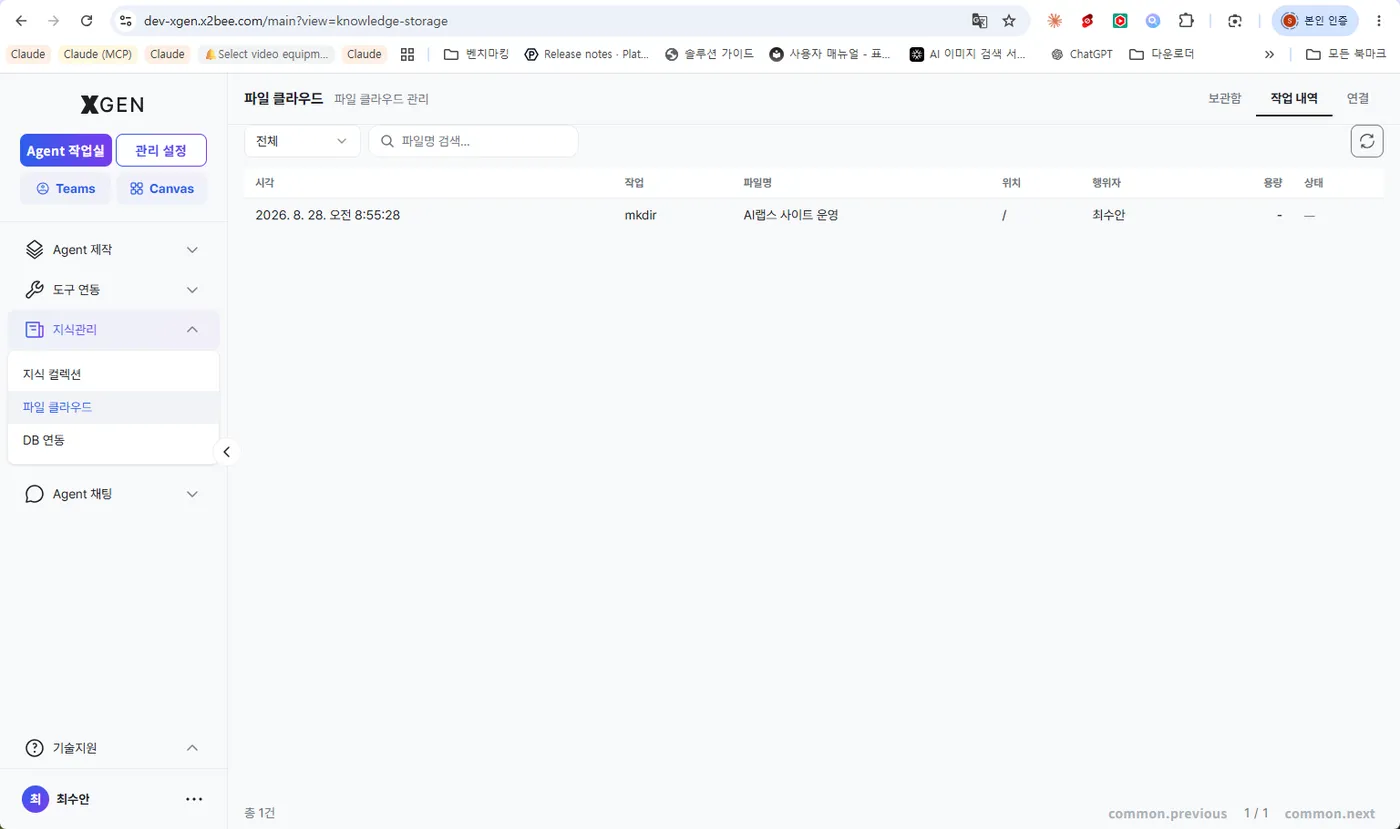
Human and agent operations stack in the same list
5. Open execution permissions
What the agent may do on this machine is decided in Dex under Settings. Open only what the work needs.
PC Control covers shell and file access. Scope it with the default working folder and allowed folders, and block commands like delete, power, or privilege escalation by their first word.
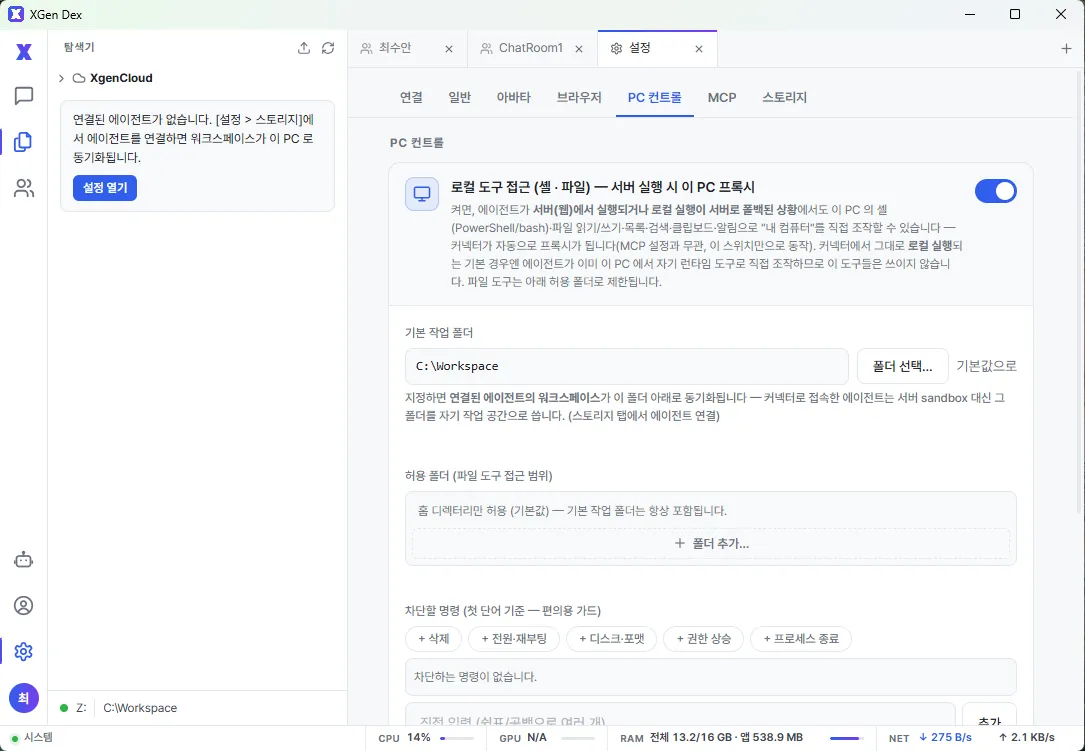
PC Control — shell and file scope
MCP runs MCP servers on your PC so the agent in the selected session can use those tools. Storage mounts the cloud as a drive and syncs a connected agent's workspace to a real folder.
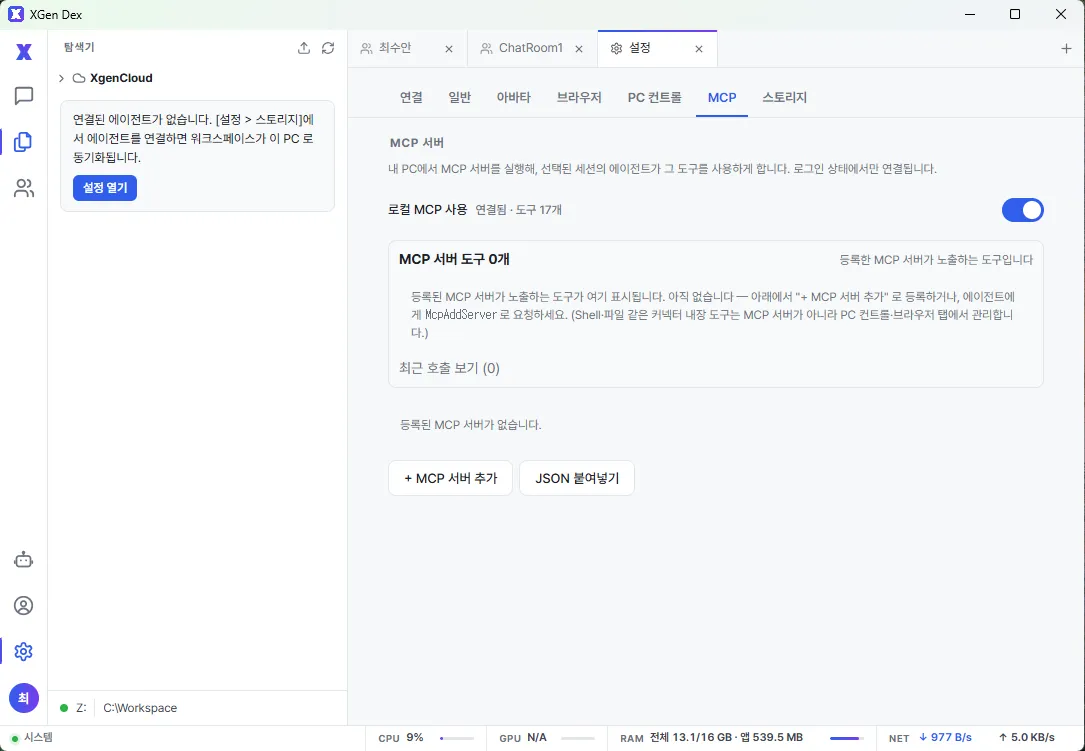
MCP — tools served from your PC
6. Hand it work
The agent you built now appears in the Dex agent list on the left. Pick it and the conversation starts.
One more thing first. Turn on the avatar under Avatar settings and the agent shows up as a character floating on your screen. Upload a photo (png/jpg) or a Live2D/Spine model, scale it with the wheel, and drag it where you want it.
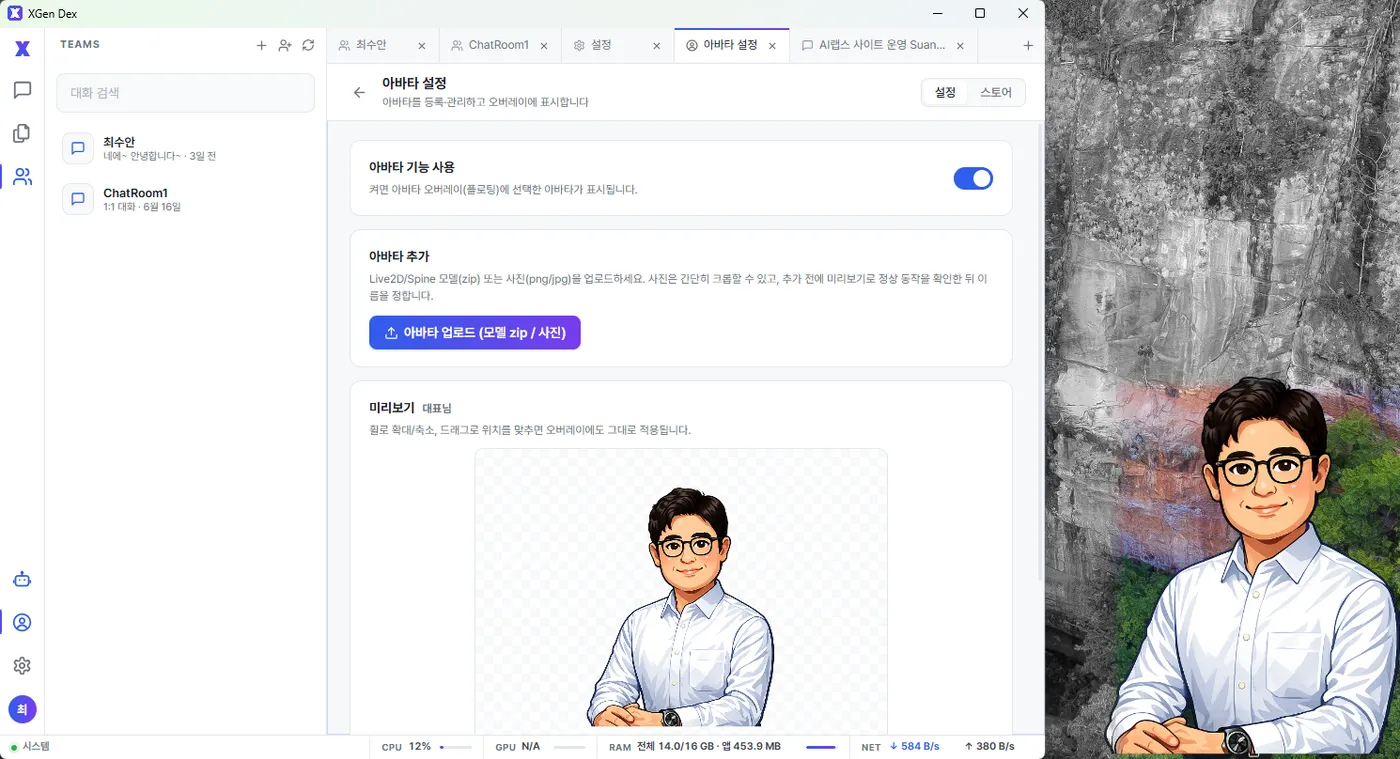
Turn the avatar on and the agent works alongside you on the desktop
You do not have to make one yourself. The Store already carries ready-made characters — download the one you like and use it as it is.

Pick a character from the store and download it
Minimize the window and the avatar stays. You do not have to find and open the app each time — you hand it work the way you would ask a colleague at the next desk. That is the figure on the right of the conversation screen below.
Hand it outcomes, not commands. Below, it was asked to find and summarize the most-read press coverage of on-premise B2B agent platforms from the past month.
The agent restates what it is about to do, runs a web search, and comes back with what it found — title, URL, date, and a summary. Which tools it used, and how many times, is kept under View full log, so you can stay with the result or open up the process.
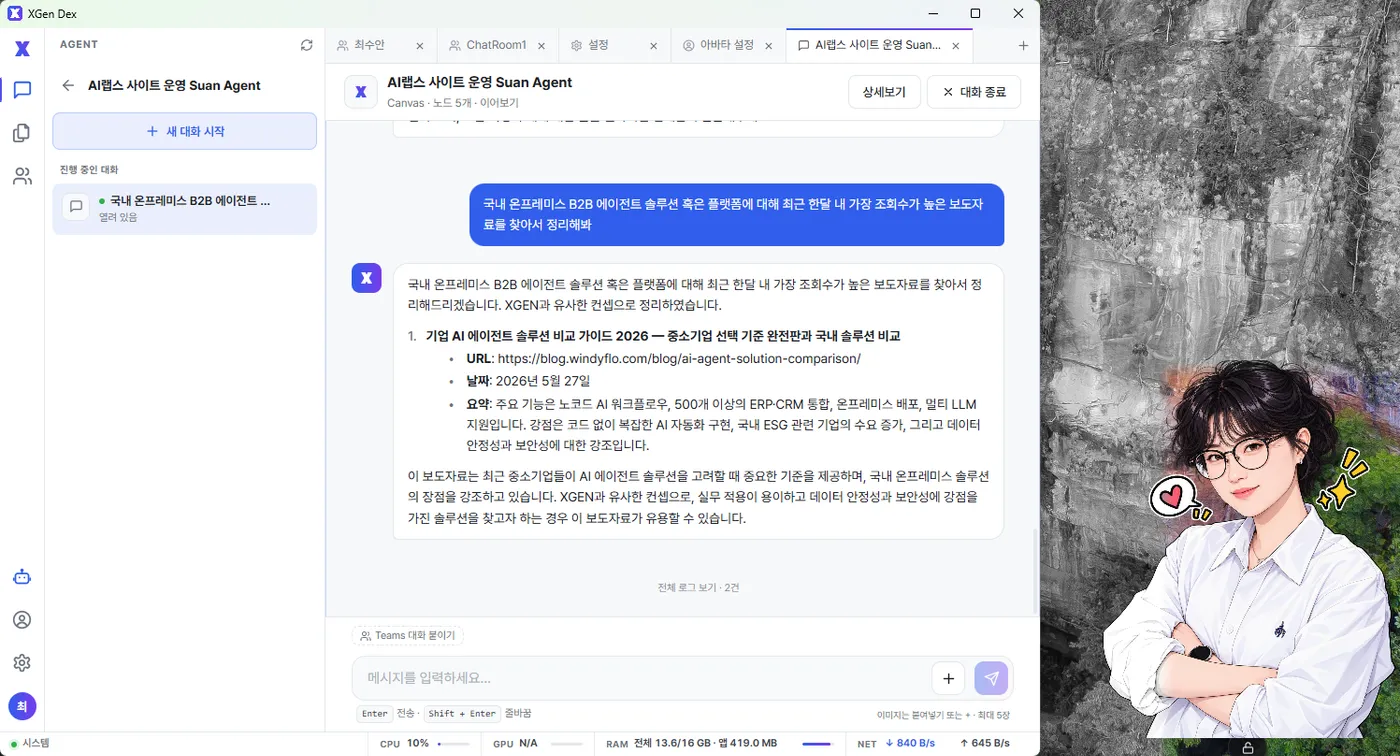
The work you handed over comes back organized
What it produces is saved automatically to the folder you connected in step 4. A working folder appears in the explorer for each agent, and the same content is kept in sync automatically with the local path you chose.
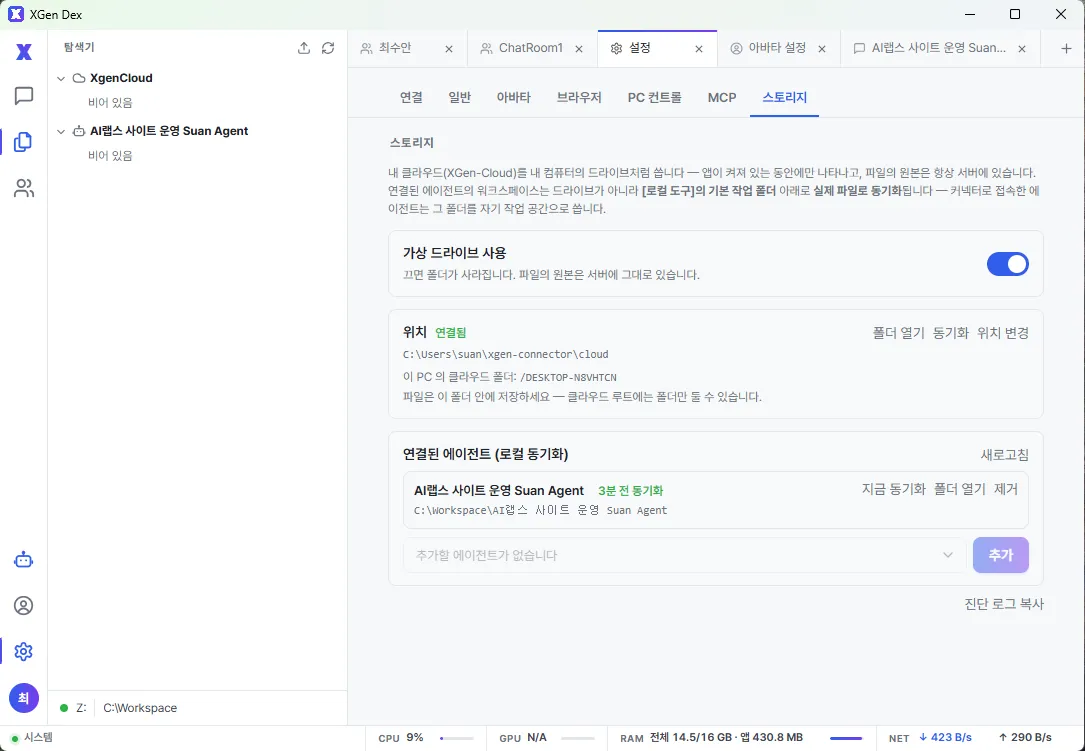
A working folder per agent, kept in sync with the local path you chose
At this point the agent you built in XGEN is wired into your desktop environment, ready to do real work with local files and applications.
What you learn running it
Separate agents by what the work needs
Rather than handing everything to one general-purpose agent, it is more efficient to split agents by task. Each kind of work uses different data, different tools, and needs different permissions. Put site operations and document cleanup on the same agent, and permissions neither task needs get granted along with the rest.
Pause the connection when you are not using it
A connected agent can reach your cloud storage within the scope you allow. While you are not using it, choose Pause under File Cloud → Connections and access stops while the connection itself stays configured.
Continue the next task from the result
What the agent produces becomes the start of the next task. It is saved in the synced folder as it is, so you can carry the context forward — "summarize what you just made for an executive briefing."
Read next
- Dex — connecting enterprise AI agents to the real desktop — why Dex exists
- Dex — the execution layer that reaches the desktop — the first in the series: central control stays put, and nobody changes how they work